Recently someone asked me about photo-styling. Before I could answer they said, “Isn’t it just putting flowers and pillows in the shot?” Ouch. But it is that question that got me thinking, perhaps this is a blog-worthy topic since like most people have never heard of a Photo-Stylist.
Let’s start from the top: What is Photo Styling?
Photo Styling, sometimes called prop-styling, can really help a photo pop. My mentor, Robin Zachary (@robinzachary) a photo stylist out of NYC, defines photo-styling in her book* as:
- Gathering and arranging objects to tell a story or sell a product.
- Creating an inspirational environment to exhibit a specific theme and cohesive style.
- Working to support the photography of these objects.
Before I bring bags of eye candy to help enhance a shot, my first question is always, “What is the story you’re trying to tell?” This is the question we ask our clients before we even break out the camera. It is the starting point for any photoshoot. We also need to understand the “target” audience to whom they are telling their story. This information guides how I style a photoshoot.
Who Uses a Photo Stylist?
- Architects and Builders: Despite a room being complete, including the interior design, that design may not tell the story the architect or builder wants to tell prospective clients. We then bring in items that will convey a certain mood/story.
- Interior Designers: Does this surprise you? It certainly surprised me. Most Designers we work with don’t need my support however there are a few that ask for my help or opinion. The way something looks to the naked eye is very different than how it looks through the camera lens, and some designers find this a bit intimidating when styling the room for a photoshoot.
- Greg West Photography: My role is a supporting one to Greg’s photo magic. Thankfully Greg shoots to a laptop. Once I style the room, we review the image together with our client on the laptop to see if what I envisioned is also conveyed in the shot. There is a lot of “editing” that takes place. We add or subtract items, or shift their position based on what the camera is seeing.
Tip 1: Know your audience. As I mentioned above it’s important for us to understand our client’s client:
- Income level
- Age
- Hobbies
- Gender
Tip 2: Know the room’s color scheme. If you have this information in advance you can bring the right accent pieces. The goal is to make the “scene” look lived-in and inviting. You want your audience to think “I’d love to live there.”
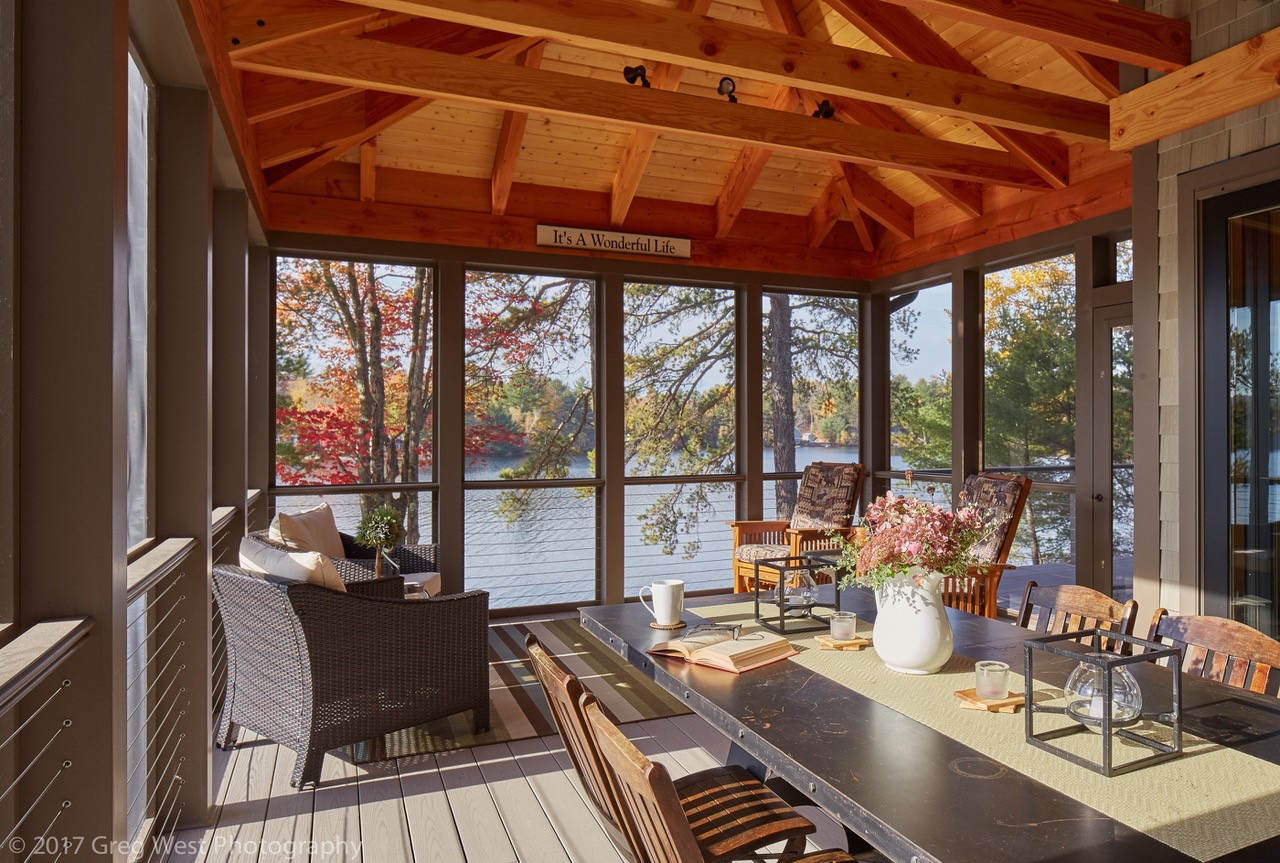
Tip 3: Tell a “story.” For example, if you are marketing to families, bring props like kids toys, or in the kitchen set up an after-school “scene” with snacks. The house in the above photo is on the ocean so we wanted to add items that gave a beachy vibe.
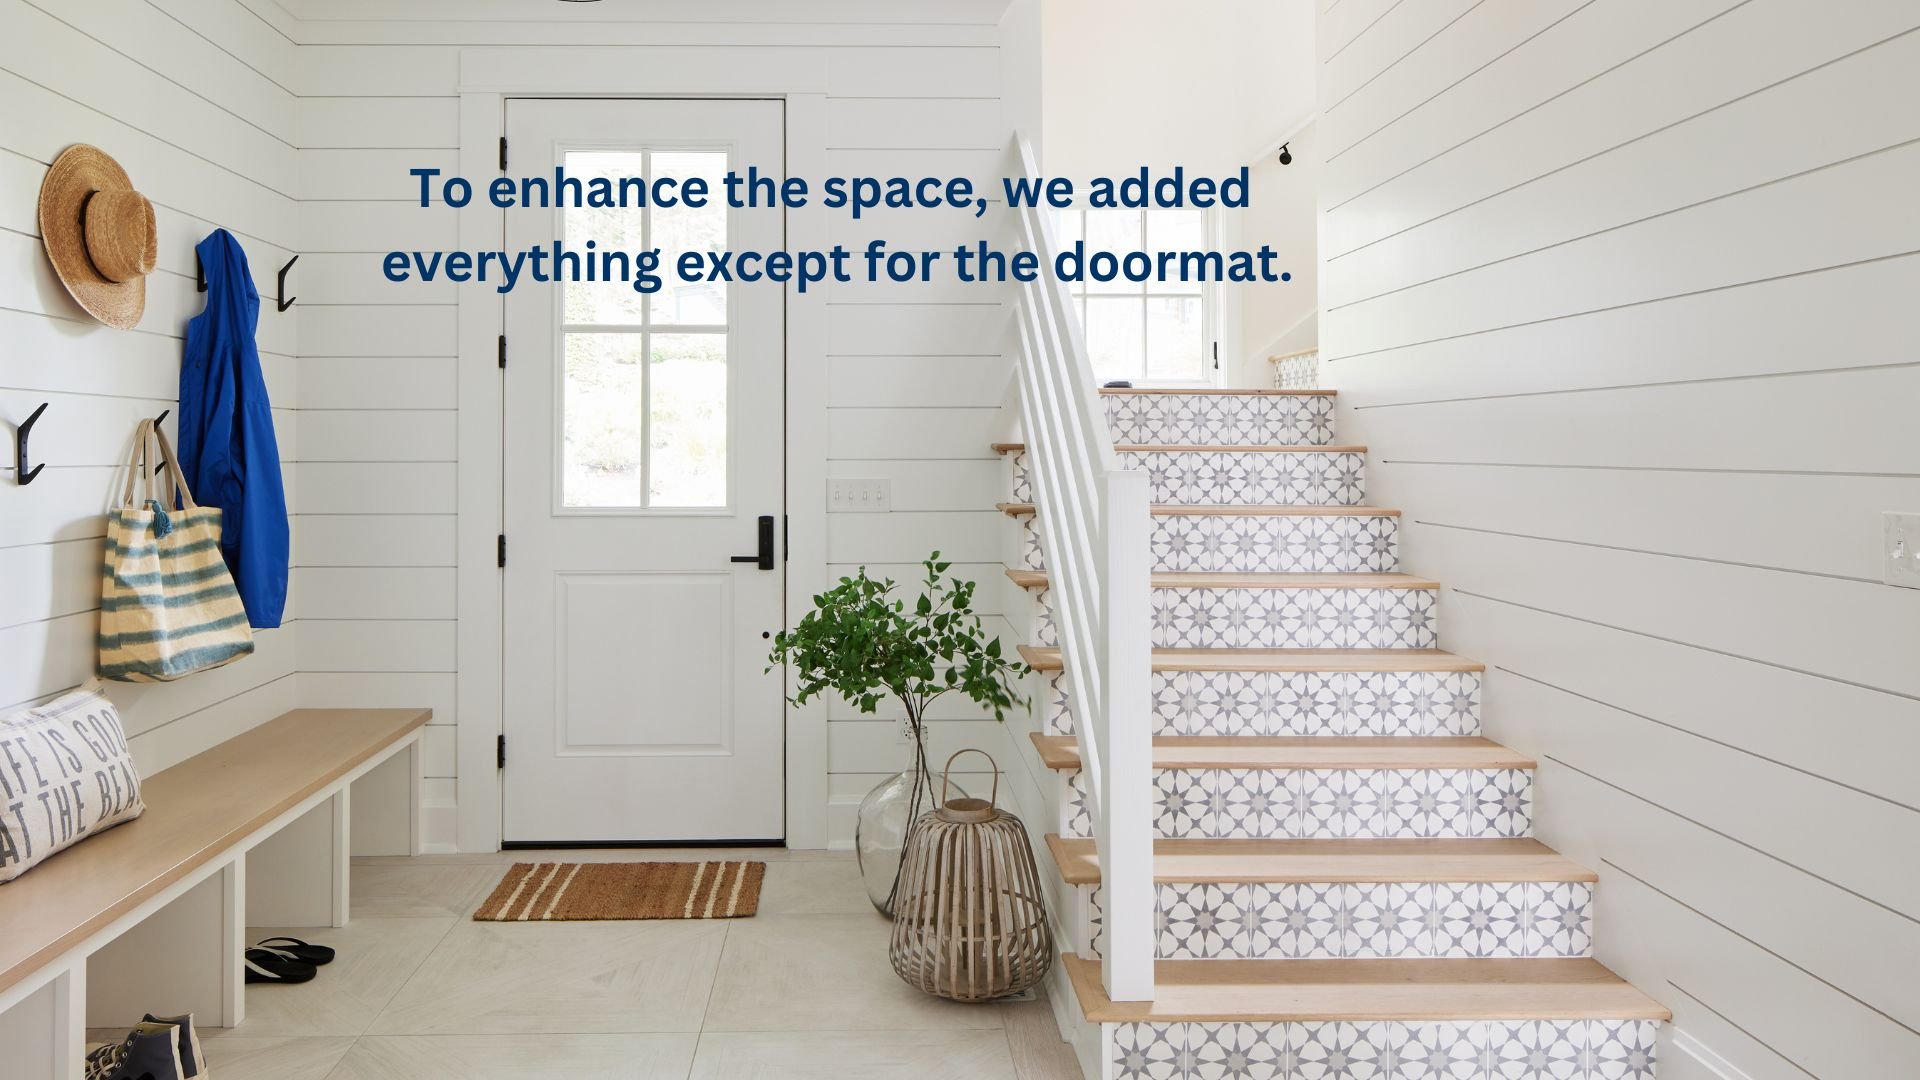
Tip 4: Show restraint. I personally subscribe to the “less is more” philosophy. Our clients, architects, builders, and designers, want to show off their work so I like to use a light touch, rather than distract from their beautiful work. My goal is to make the space look lived-in and modern.
Tip 5: Create a tool kit. This includes items like glass cleaner, paper towels, stainless steel cleaner, etc. You never know when you arrive if the location will be “photo ready.”
While photo styling can be a lot of fun it is also a lot of work. Finding those perfect items can be stressful. When it all comes together, you see the final image and the client is happy, it is so rewarding.
Questions on photo styling or suggestions for a future topic? Comment below! Or use the social buttons below to share.
Credit: ”Styling Beyond Instagram” by Robin Zachary